Setting Up a Donor’s Choose Project!
I was going to save this for my back to School series, but decided to post this sooner. As a teacher, we spend so much money on supplies for our own kiddo’s. I buy pencils, folders, backpack, toys, curriculum and supplies for my classroom. Fortunatley, I have been successful with my past two Donor’s Choose grants. I recieved an iPod touch and some sensory materials for my classroom. I just posted my third grant, and wanted to walk you through the steps to starting your own Donor’s Choose Grant! Start one now.. it takes a few months to fully fund! You could get some supplies for your class by Christmas 🙂
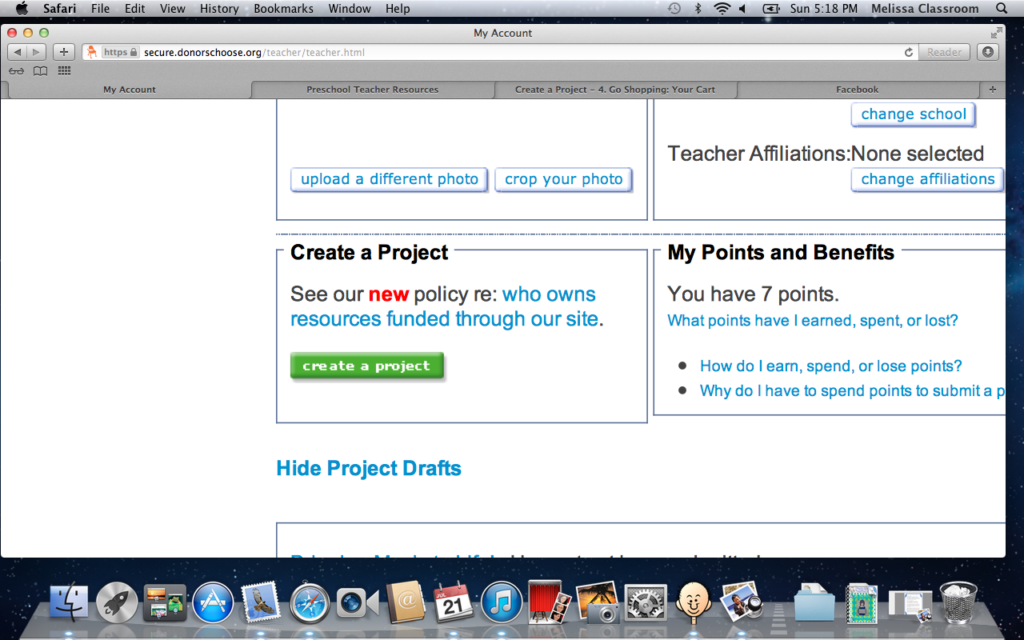
1. Set up an account on Donors Choose!
2. Once on “My Account” page, click Create a Project
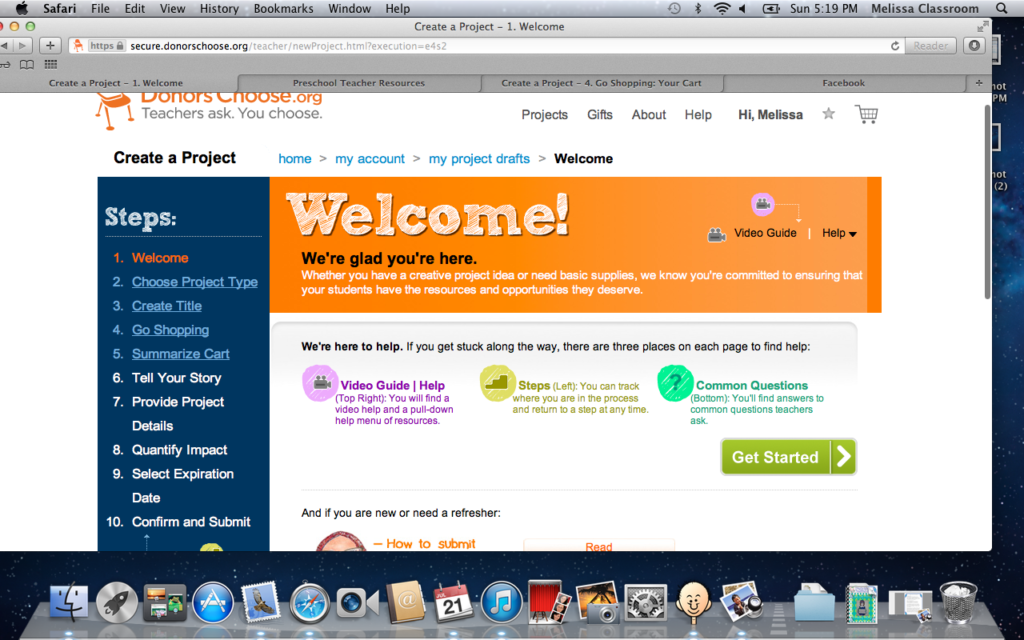
3. Click Get Started
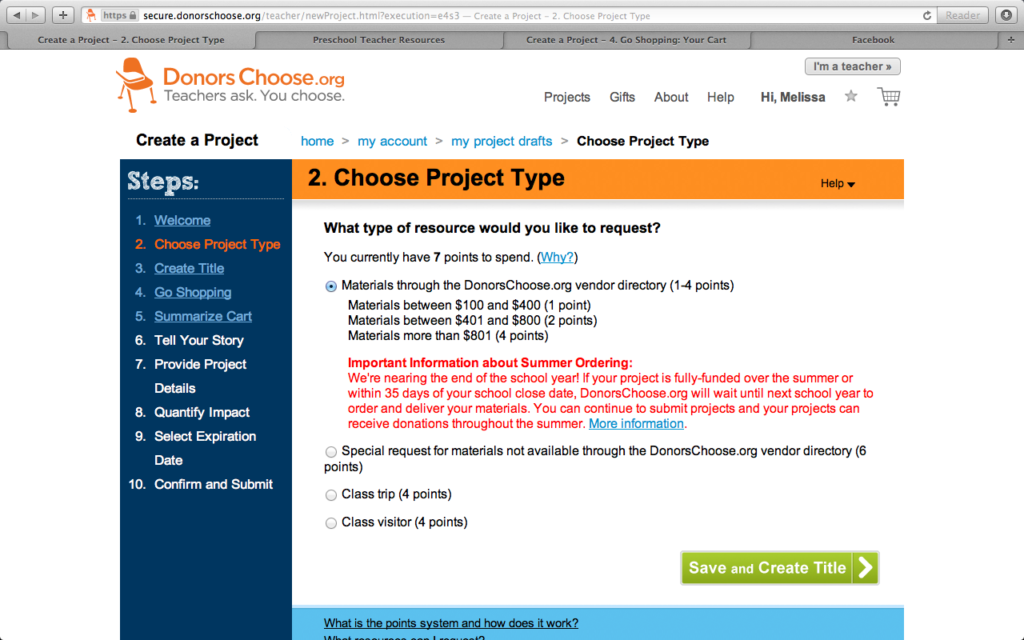
4. Choose your Project Type. Choose how many points you would like to use.
5. Create a Title… BE WITTY!

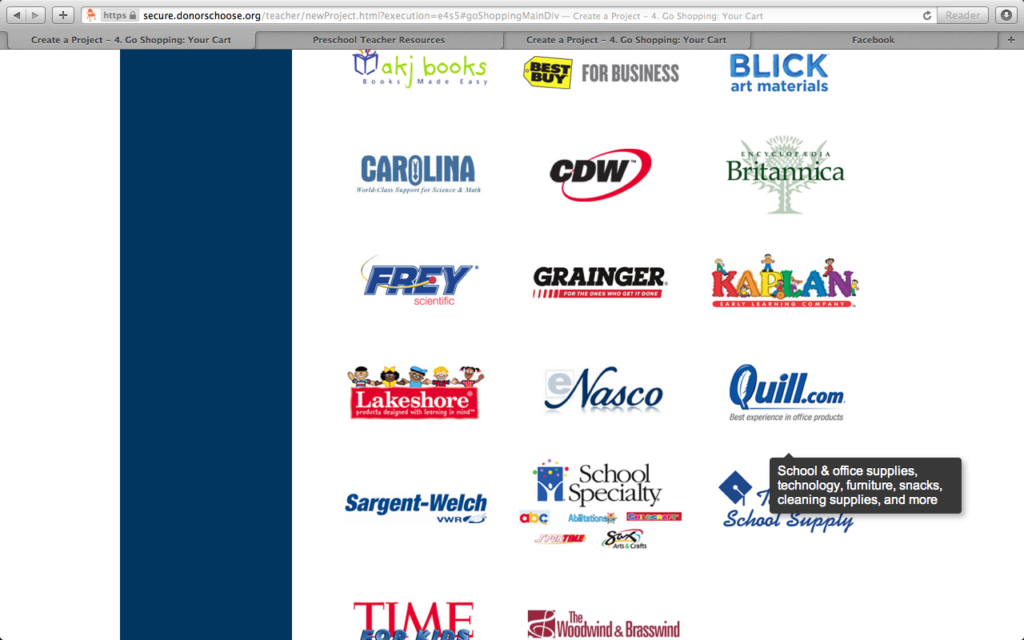
6. Start Shopping! Choose which store you want to shop from!
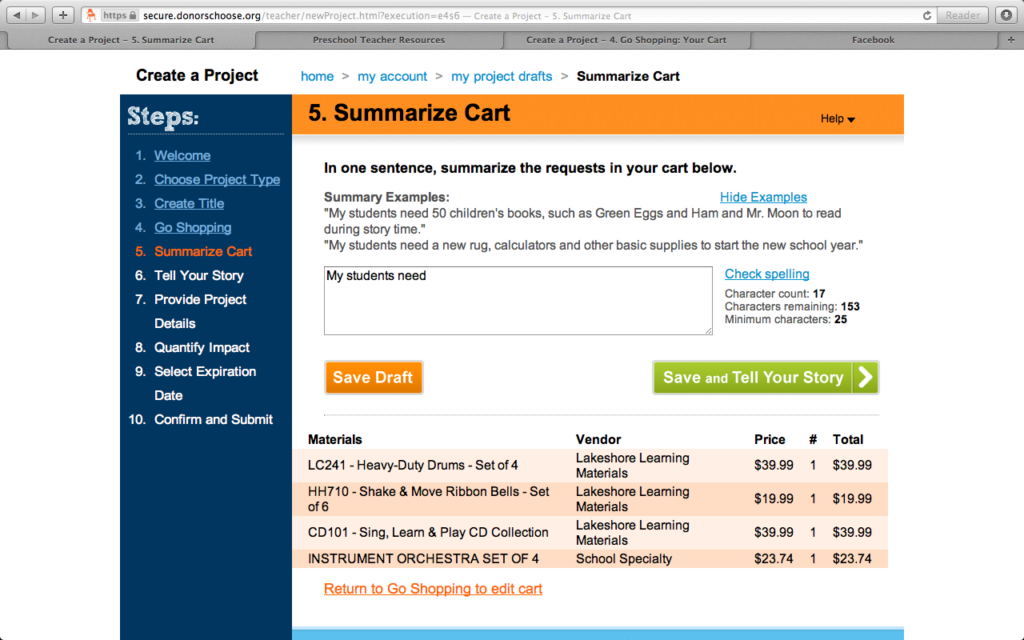
7. Summarize your Project. In a brief paragraph, write what you are requesting!
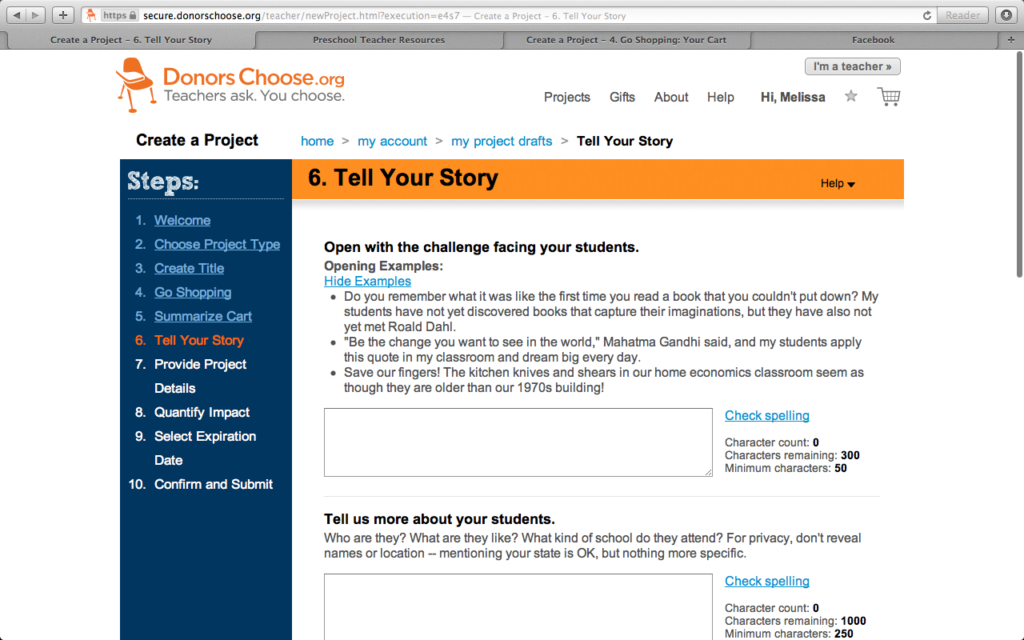
8. Tell your story. This is where you spill your guts, plead your case. Just be honest, and speak from the heart. Why are you asking for these items? How are these going to help you classroom?
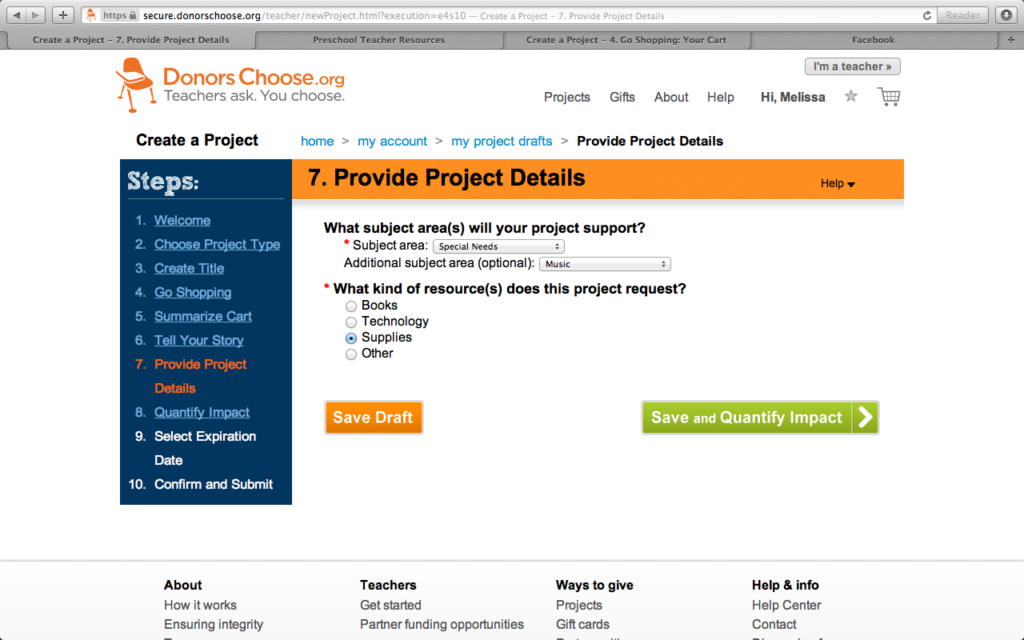
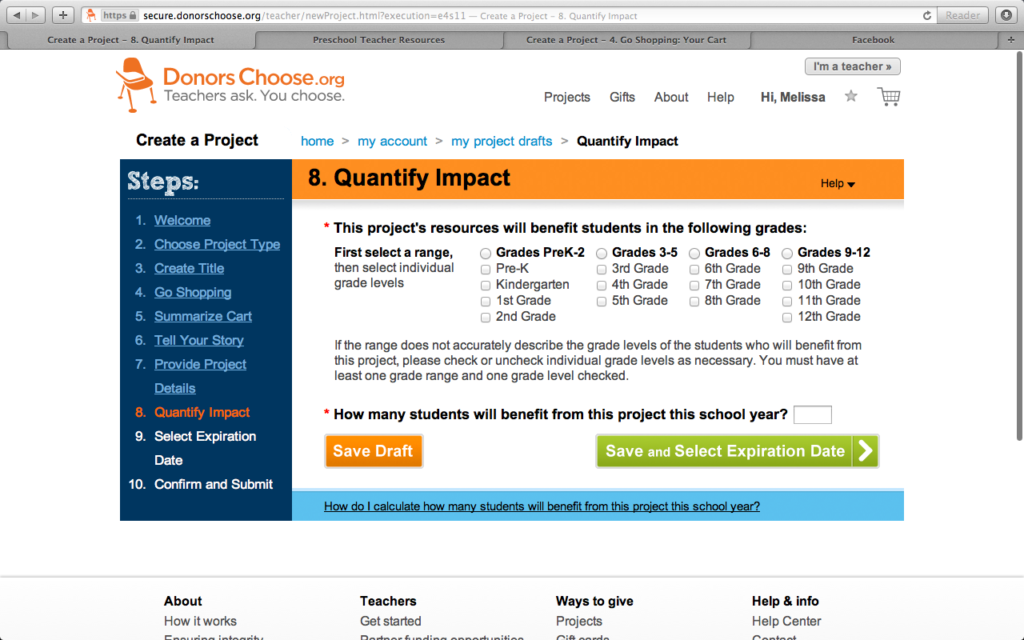
9. Details. What Grade? What is it?
10. Select the grades and number of students.
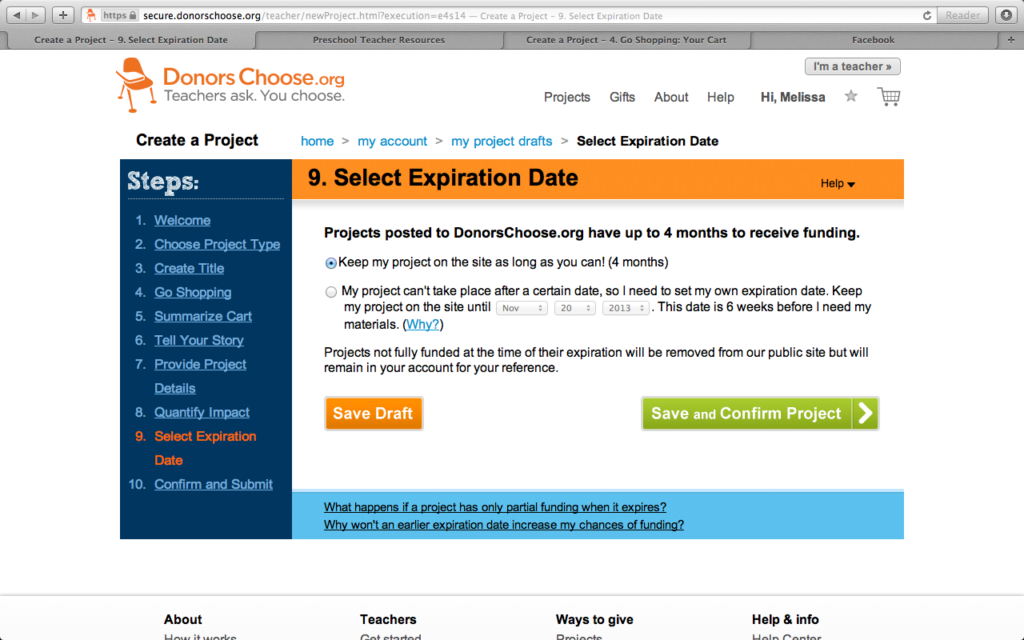
11. How long do you want to leave this project posted for? I usually leave it for the longest possible…4 months. You can choose an end date if you prefer.
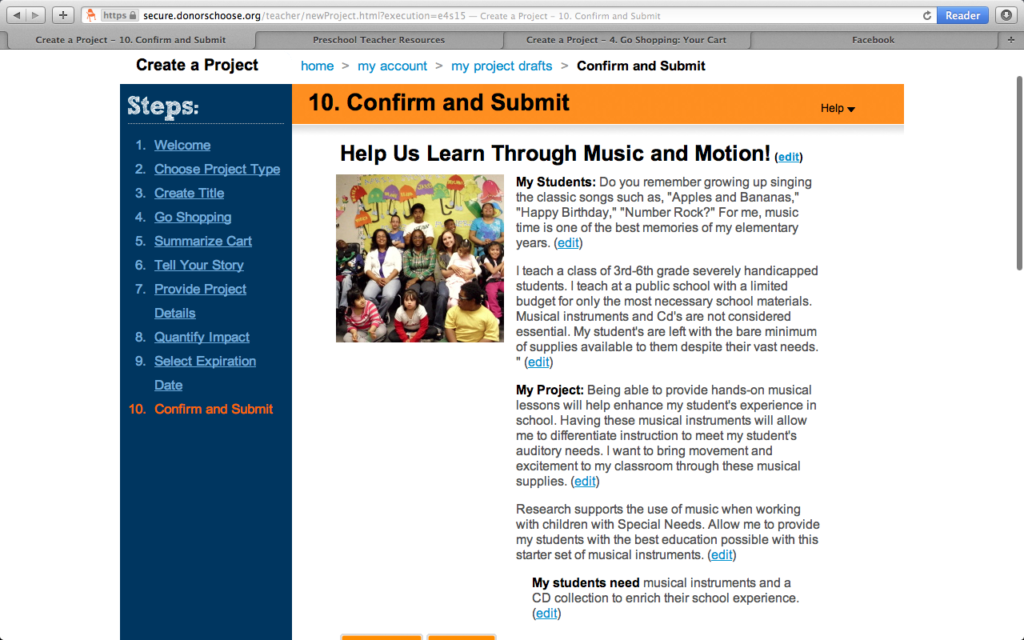
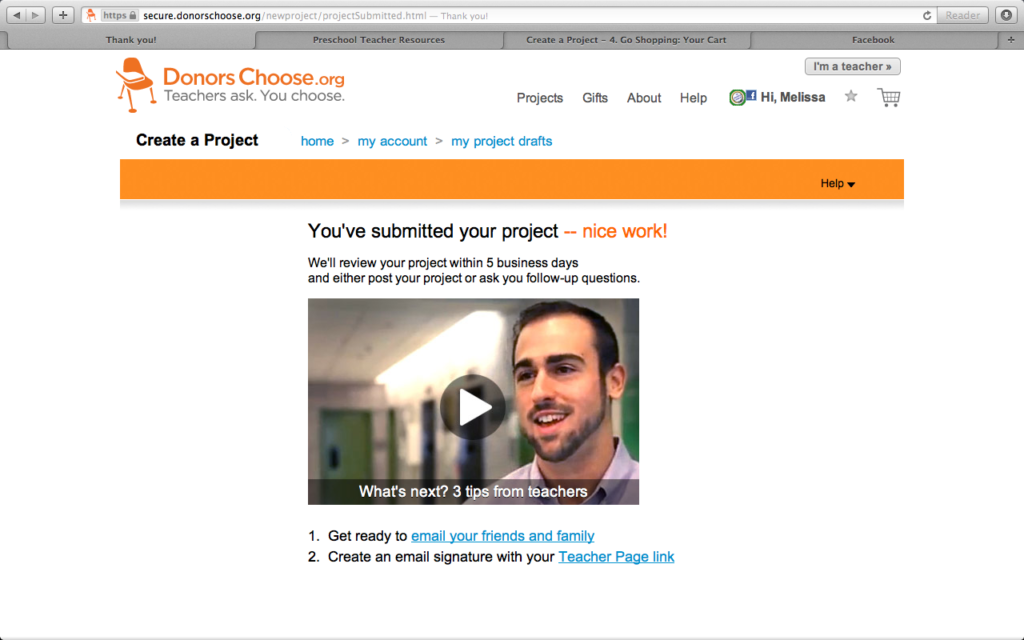
12. CONFIRM!
13. Be sure to share your Donors Choose website with parents, colleagues and friends. I personally share on Facebook, my blog, my twitter, my instagram and email. The more shares the more likely you are able to get this project funded!
I’d love to hear about your Donor’s Choose projects! Share the link to your Donor’s Choose project in the comments or on my Facebook 🙂 Spread the word…