Writing Through The Year- Organizing Teacher Materials
I hope yesterdays post introducing the Writing Bundle’s printing guide was helpful to you. Today I am going to share how I organize all 1,300 pages of materials in a systematic useful way! First things first, here is what you need if you are going to do it the way I did! Of course, there are millions of other ways YOU can organize your materials. You need:
(10) 1 inch three ring binders
(1) 2 inch three ring binder
(10) 8 tab dividers
(1) 12 tab divider
(100) plastic sheet covers.
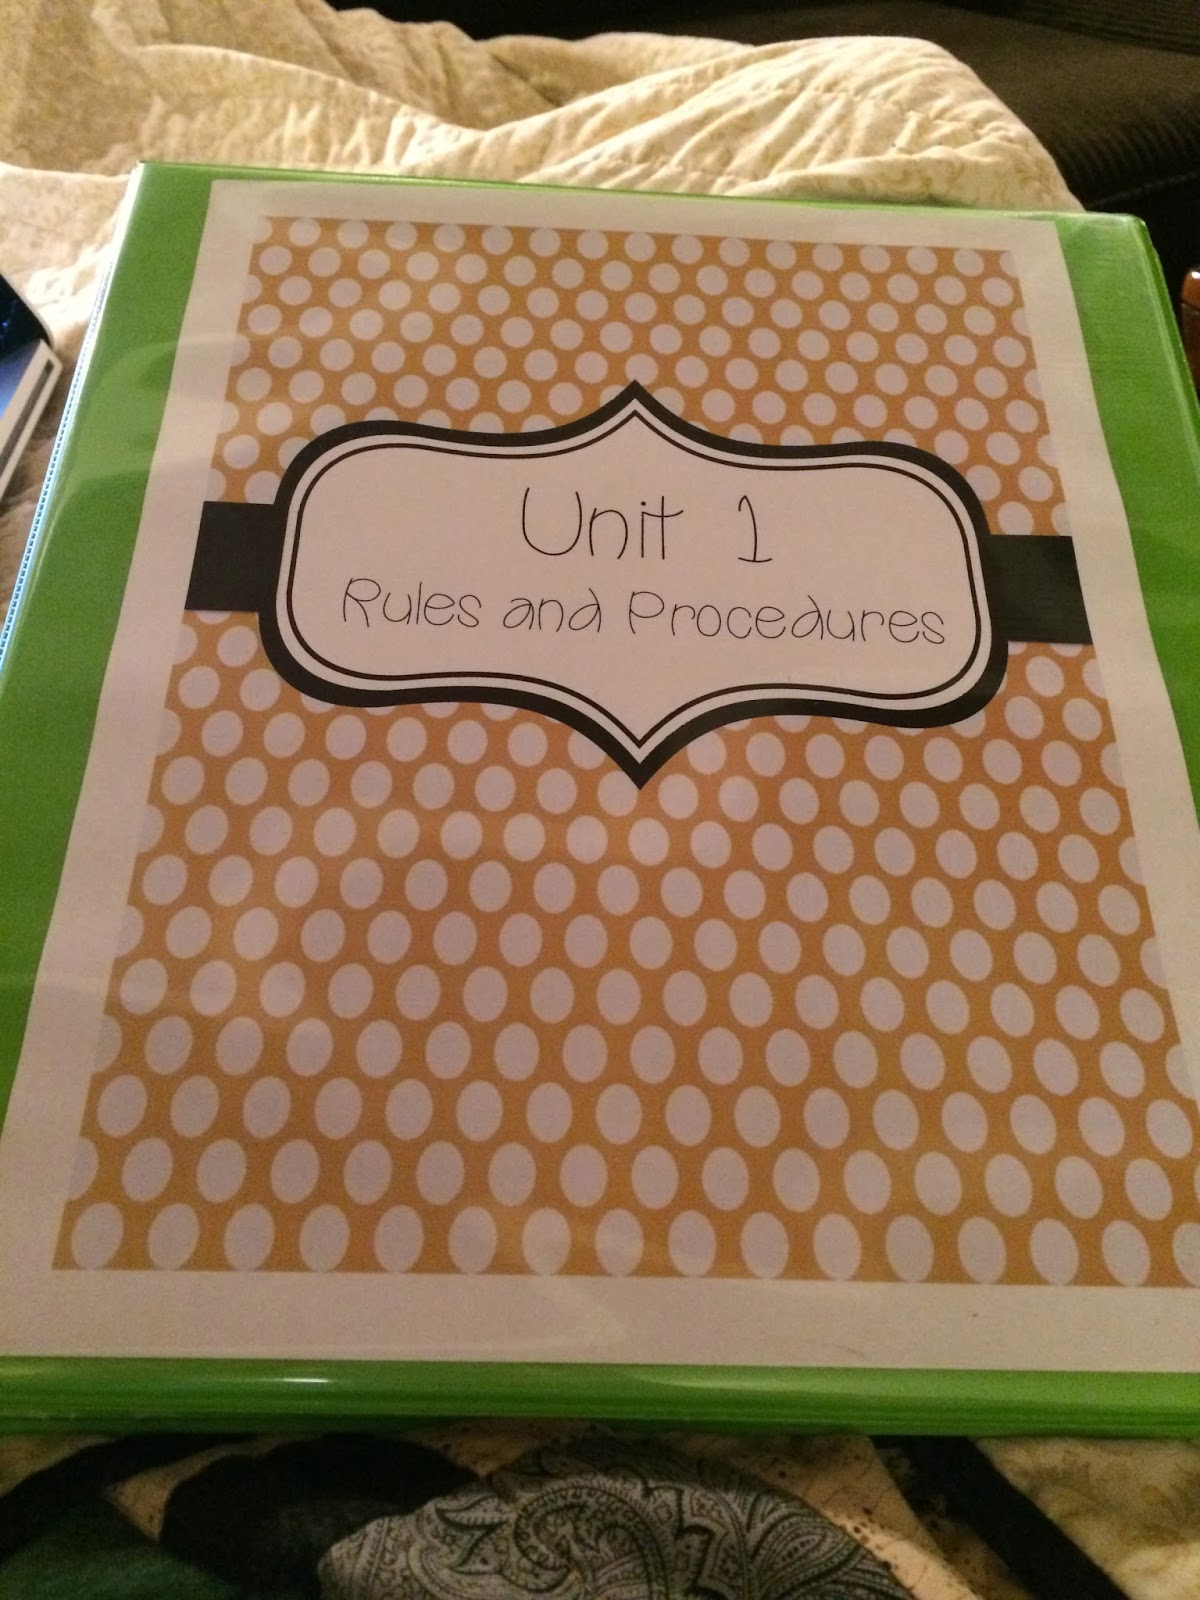
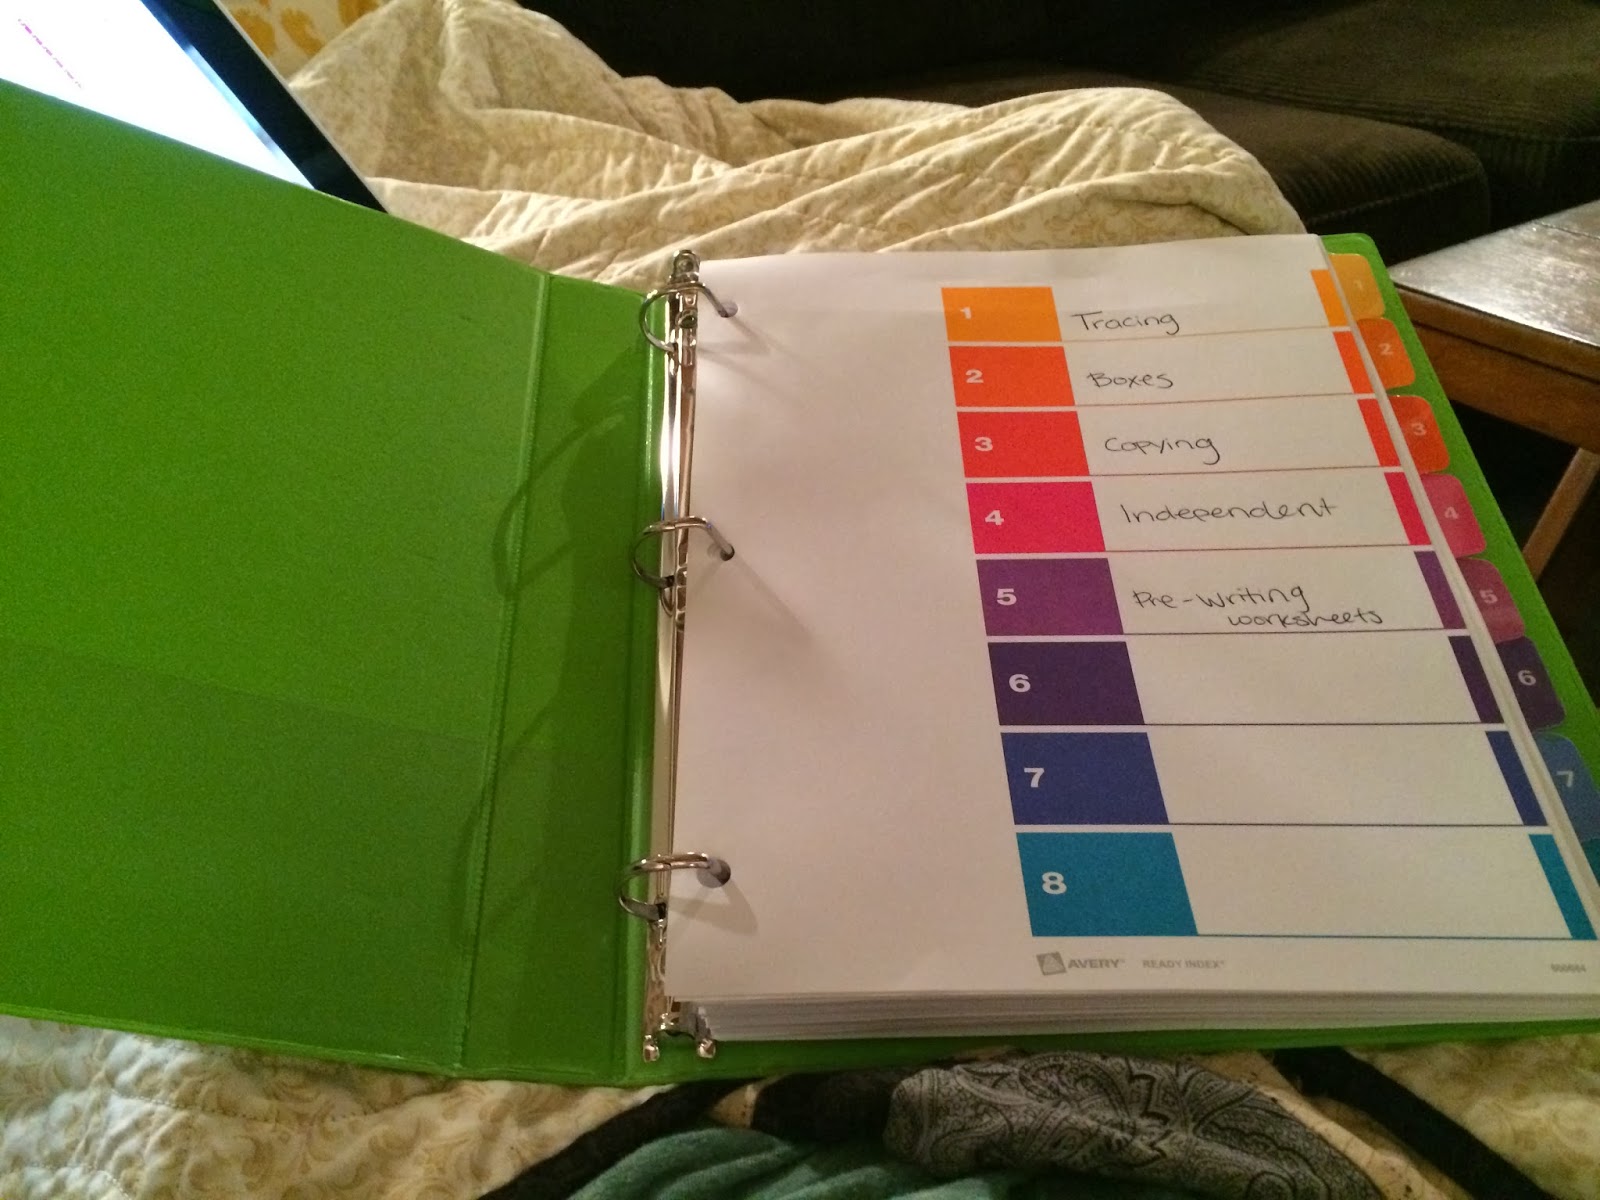
For each unit, I printed all of the materials following the printing guide. Then, I organized each one into a Unit Binder. I labeled each binder with these cute covers here. (Click HERE to get them for free!) I labeled a separate tab for each leveled journal prompt to make for easy copying each month!
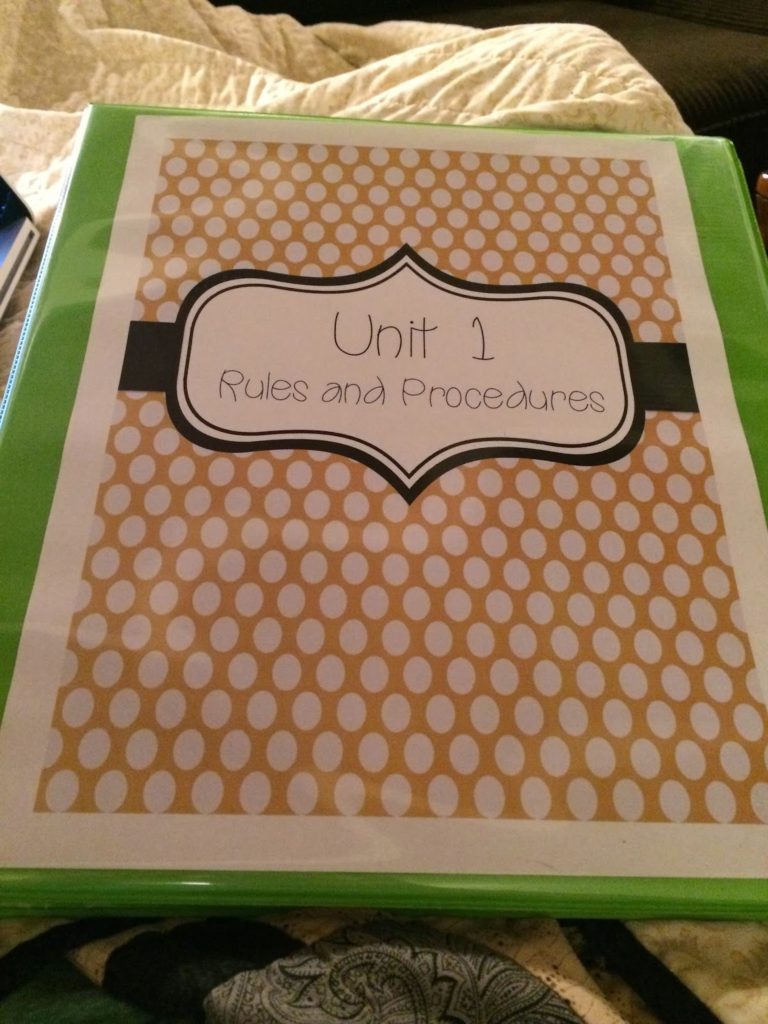

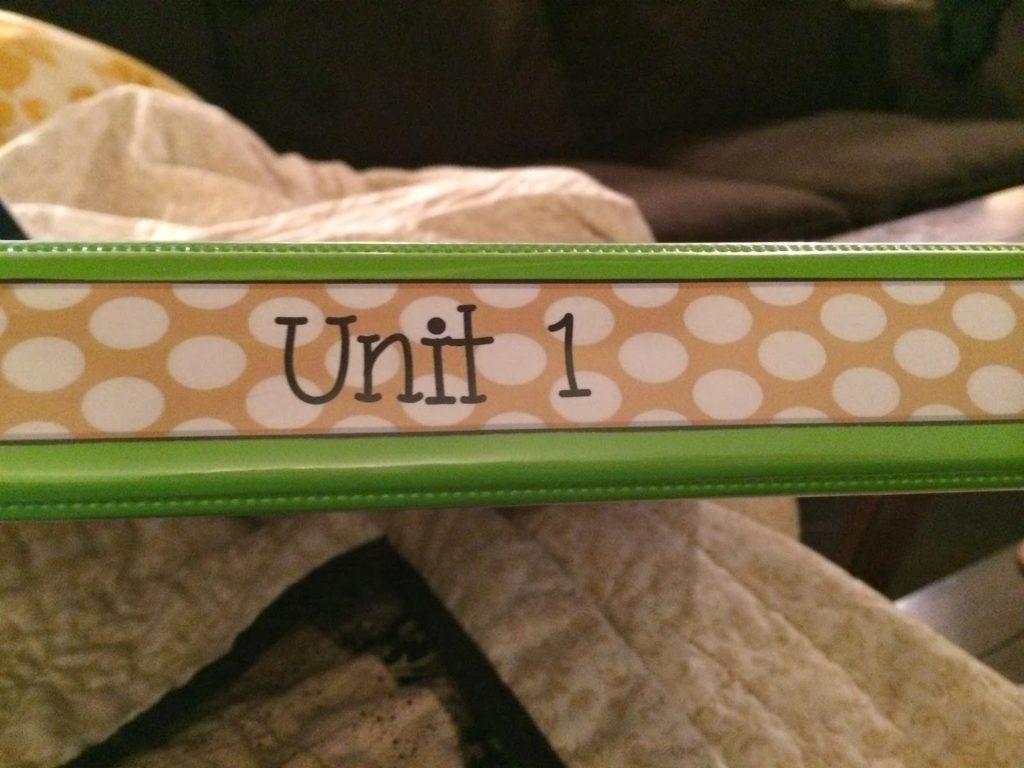
By organizing each month in a binder, I can just carry the binder to the copy room and pull our each level to make copies!


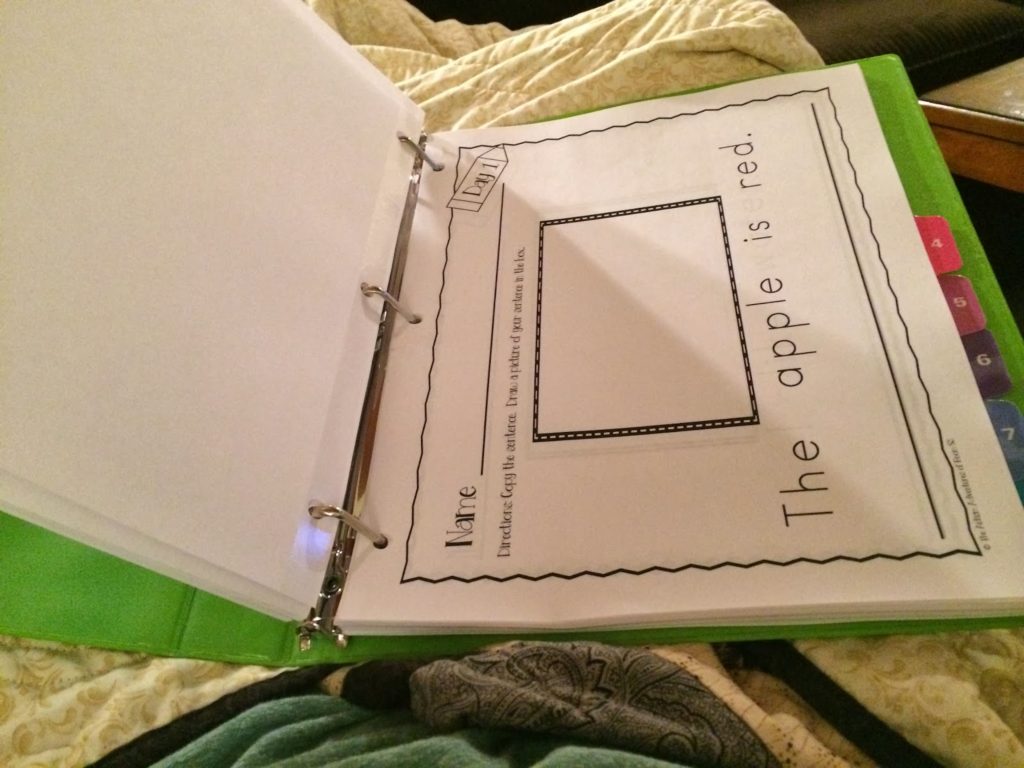
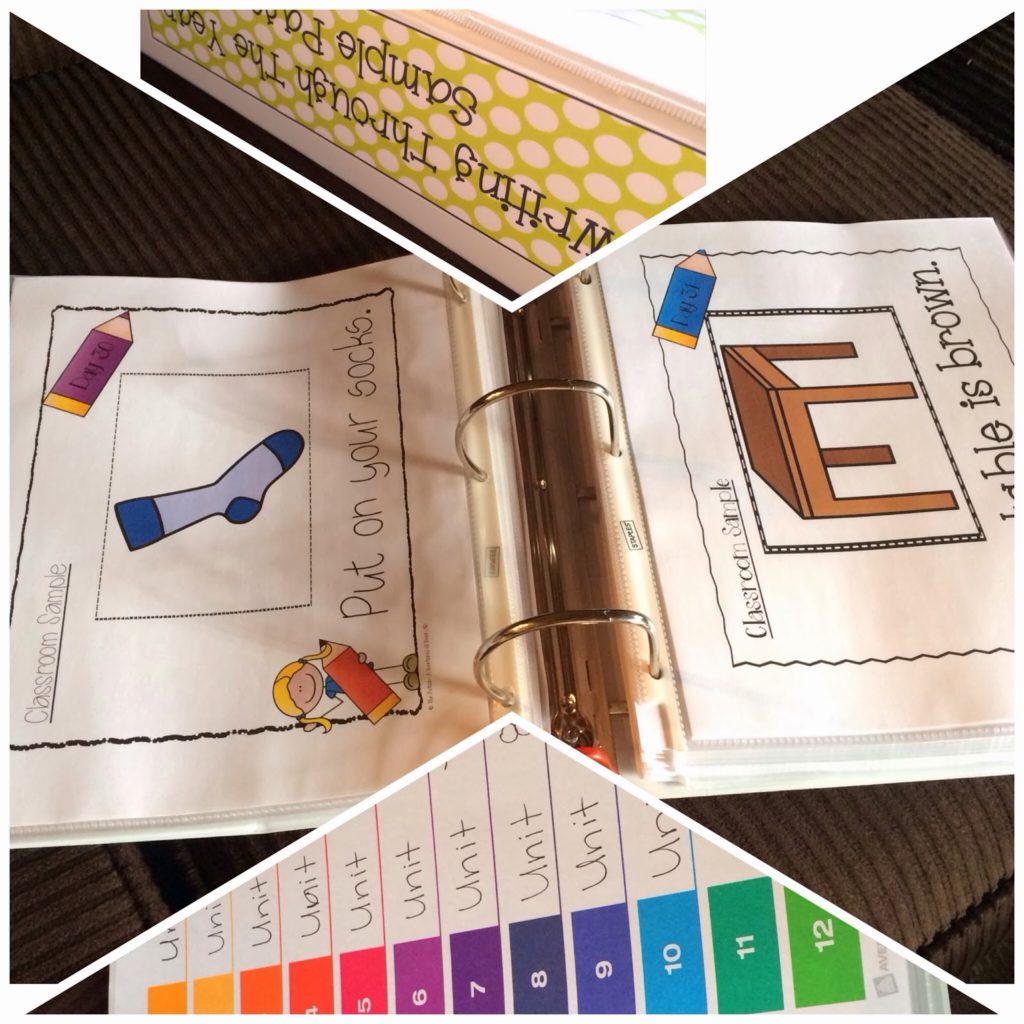
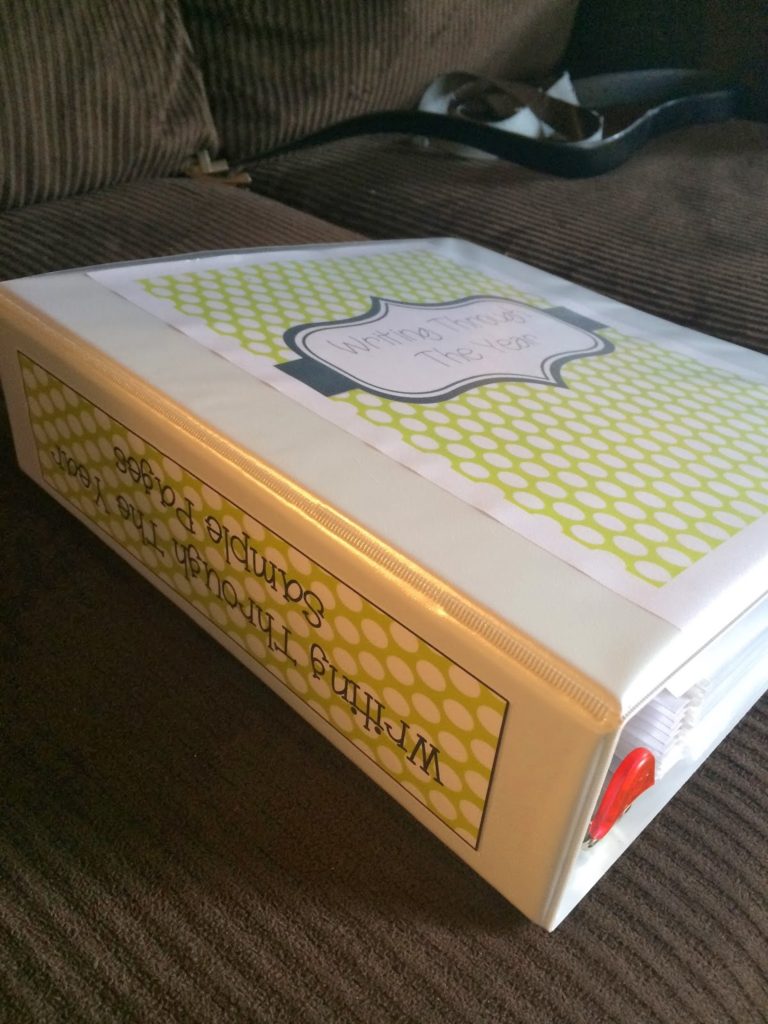
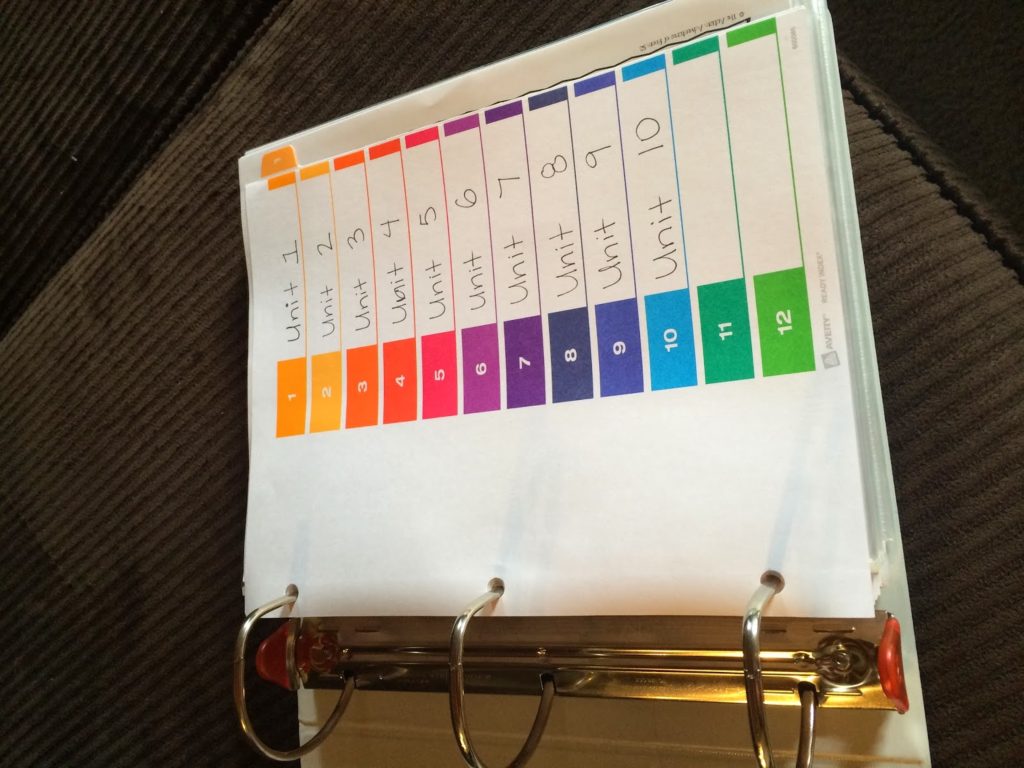
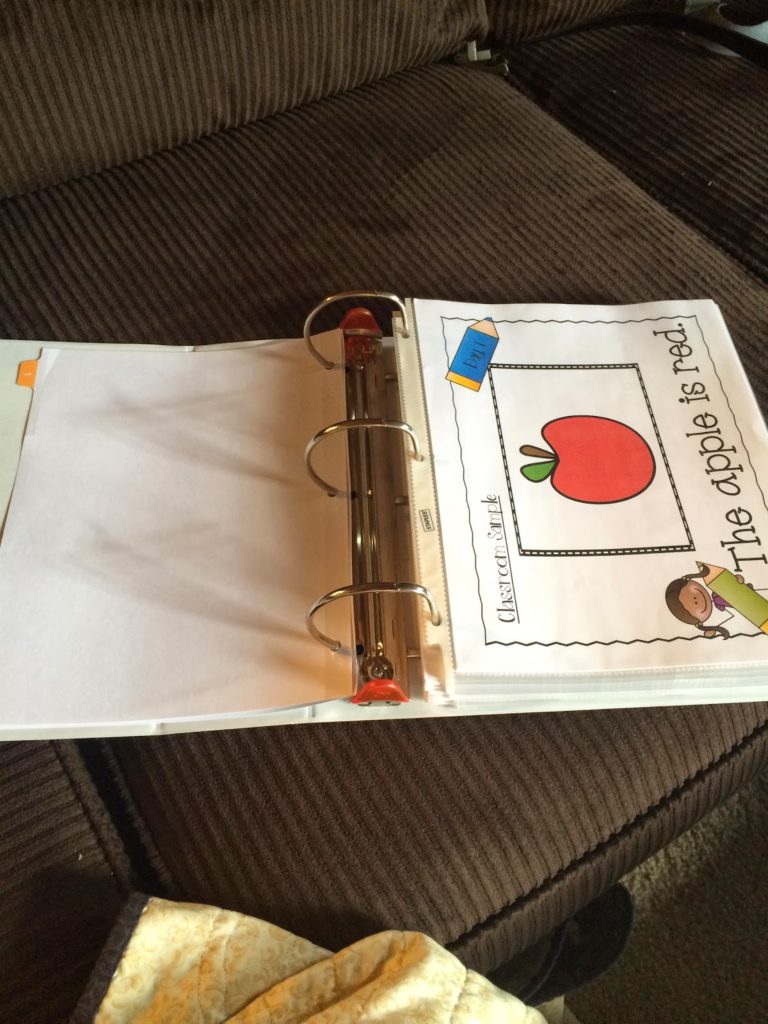
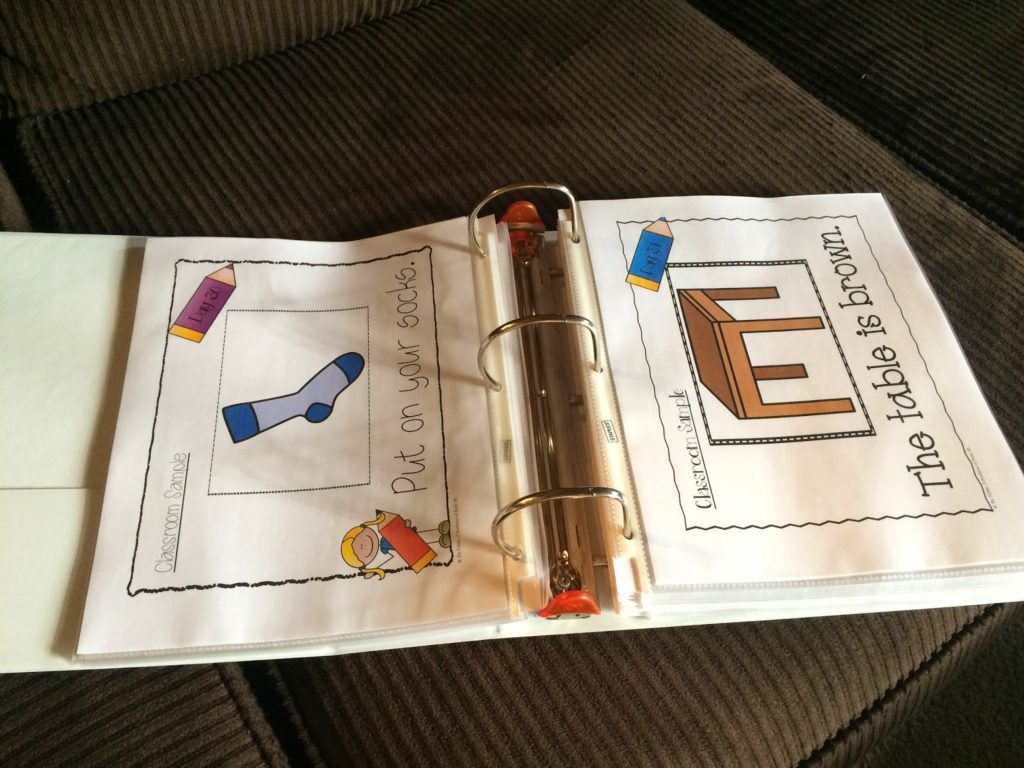
Lastly, I took all ten units “Sample Pages” and put them into one large binder. I organized them by unit using 12 tab dividers and used the cute binder cover found HERE to keep everything organized! I placed each sample page back to back in clear plastic sheet protectors. You can choose to laminate and whole punch if that is easier for you. By having them all in one place it is easy to pull out the daily sample during writing time. I also chose to keep them all together just in case one kiddo is absent and needs to do his/her make-up work it is still super easy to have them look at the model!
I hope this helps you to better organize your materials! Please share out how you set up your own writing center 🙂
Here are more blog posts about my Writing Center!!!