Teaching How to Write Your Name
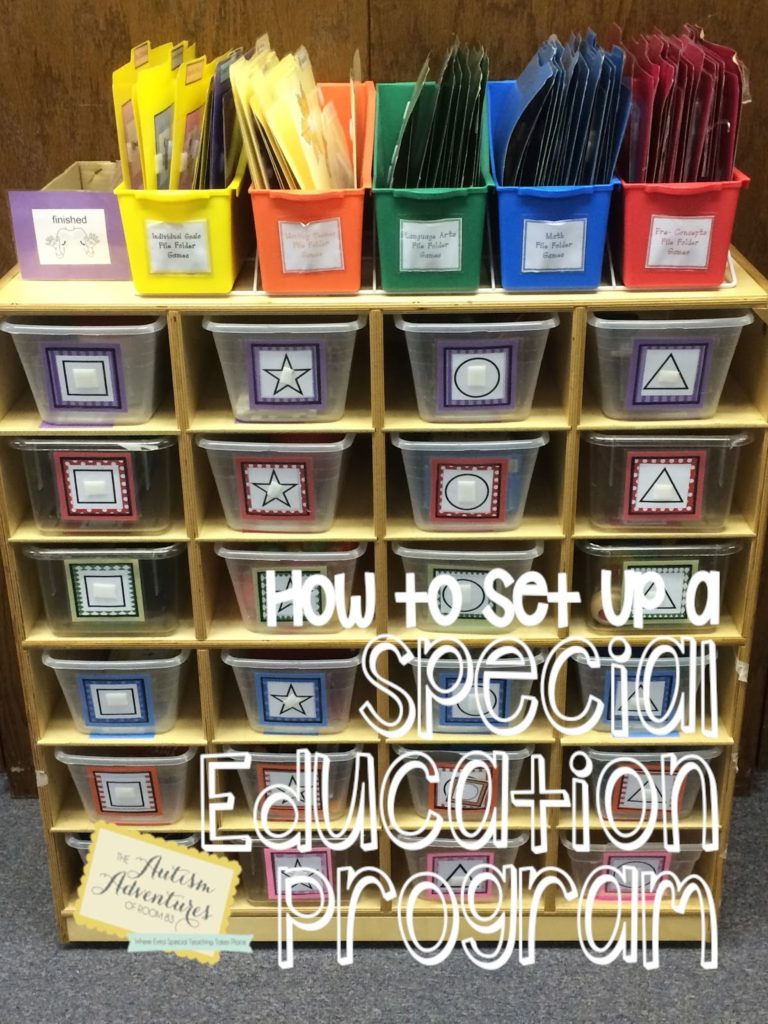
I am a big fan of structured work centers. I run rotations two time a day during my work centers. In the morning we work on our writing at one center. I implement my writing curriculum for most of my students. I have two students who are still working on tracing their name in the most simple format, thus my curriculum is not appropriate. For these students I have different things setup!
For my first student, Gabriel, I created a three ring binder. I put all of the printed worksheets inside of sheet protecters so that dry erase markers can be used. He is able to trace his name in 3 inch block size letters. So when he first opens the binder, he finds the largest letters first.
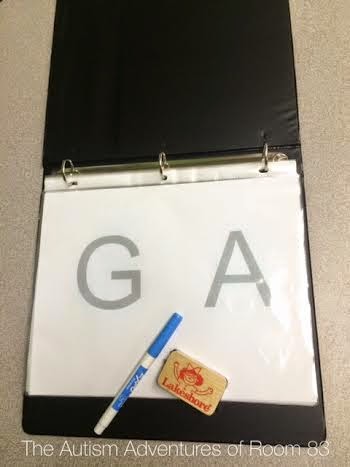
He is able to do these large letters on his own independently, so I have him start with them so he is not frustrated and he is successful to begin with.
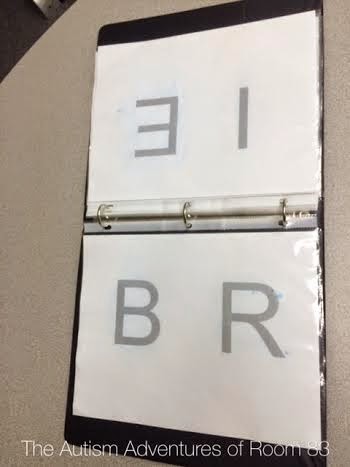
I then transition to 2 inch size block letters. He is able to do some of the letters correctly. He struggles with the G, B and R as they have curves. However with daily practice he is getting better!
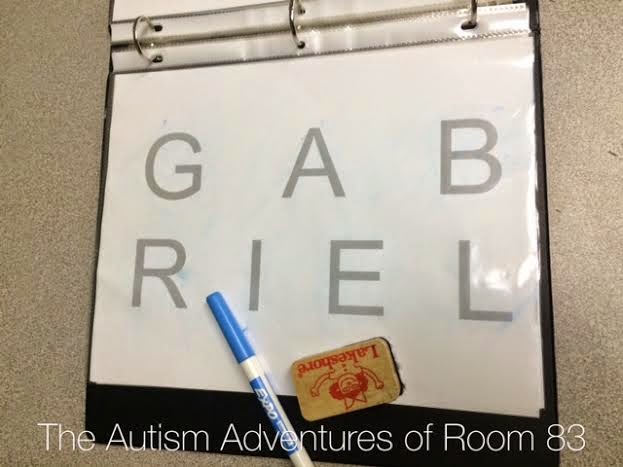
Lastly- He attempts 1 1/2 inch size block letters. This is difficult for him. He sometimes gets frustrated but he is able to visually see that he is on his last page and almost finished. This helps him to see the end of his task.
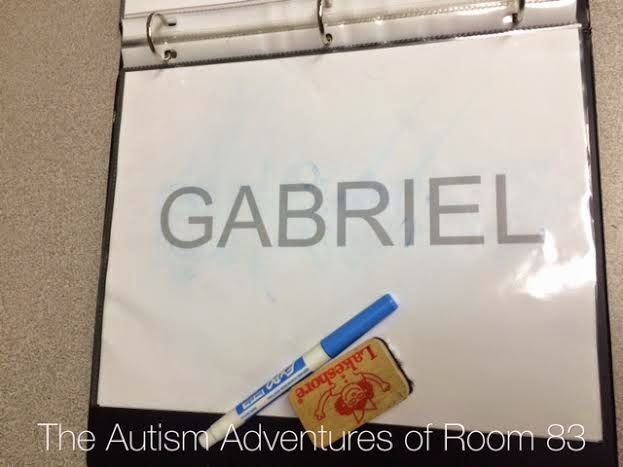
I created these worksheets just in Microsoft word. I picked a simple print font and bolded the font. I printed it in gray so it was more “traceable.”
I love these little erasers I got from Lakeshore. The kids can erase their sheet protectors on their own!
Now I bet a lot of you think that you may have one kiddo that is too low to work on this. I promise you that you can start with a letter that takes the whole page. DAILY PRACTICE helps. It may take a year to get one letter down- but I promise you that one day, it will all just click 🙂 Unless of course… if there is an orthopedic impairment involved. Then talk to an occupational therapist 🙂