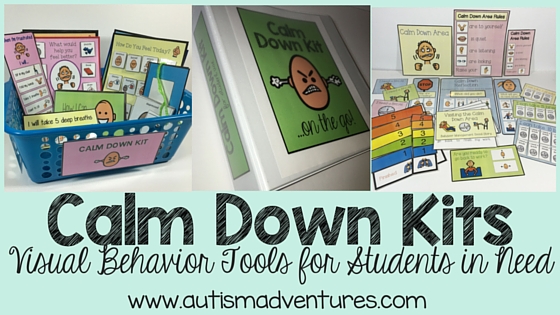
Calm Down Kits in the Classroom
I talk about my Calm Down Kits in my blog posts all the time because I use them THAT much. I get a lot of questions asking about them, how I use them, when I use them and why I use them. I have blogged about them in the past but I wanted to do a refresher on these visual tools that I am SO dependent on in my classroom!
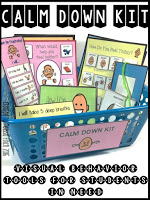
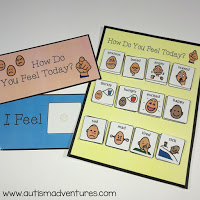
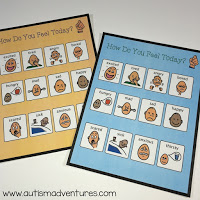
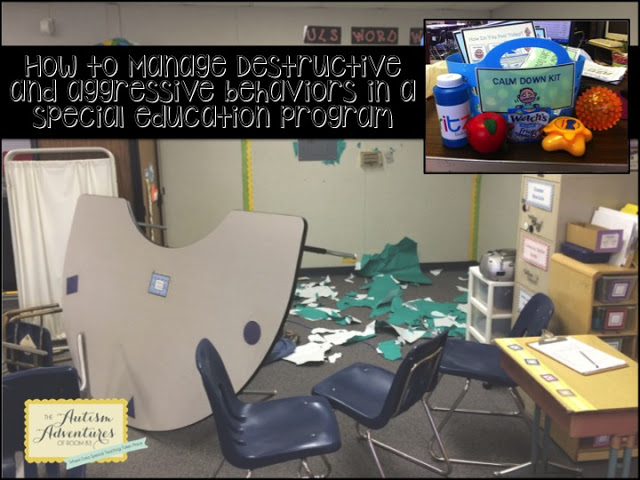
I originally created my Calm Down Kit in my second year of teaching for a student of mine that was transitioning through a mental health diagnosis. (FLASH FORWARD 4 years, he is now mainstreaming in general education classes in high school and SUCCEEDING!) I needed a tool kit to help me in crisis situations to help him regulate his emotions. He required the visual steps to help him return to a sense of calmness and to understand the environment around him. Now, I use this for my entire class when needed. I have all of my behavior visuals stored in a labeled basket to utilize in my Calm Down Area.
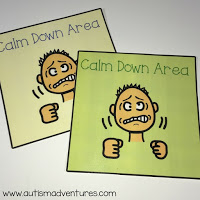
Below are some pictures to sample what is included in my original Calm Down Kit.
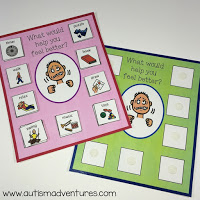
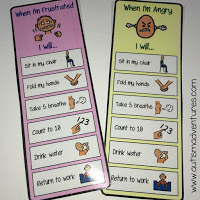
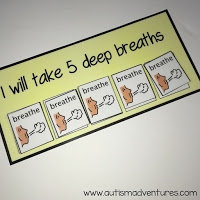
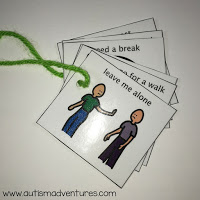
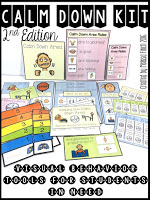
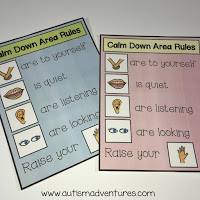
After using my original Calm Down Kit for so many years and watching so many successful moments in my classroom, I realized the importance of creating visuals for students in an anger state. Over time I created visuals that met my new students needs (Since you know, every year is a new class, with NEW needs). I wanted to create some supports that could be used to build my Calm Down Area. Most importantly I love my visual rules and the transition cue card to transition students back to work.
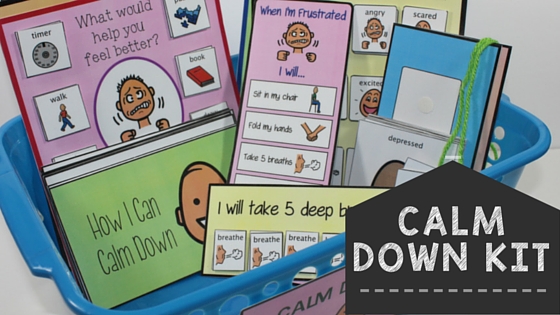
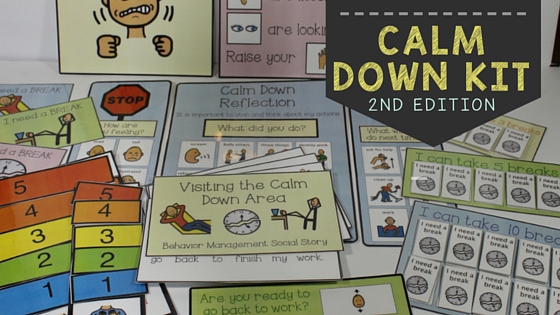
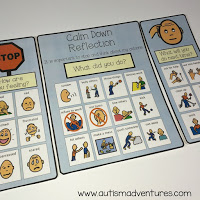
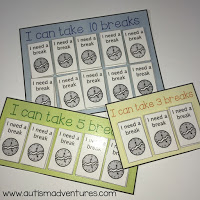
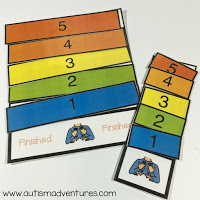
Here are some pictures to see what is included in my Calm Down Kit- 2nd Edition
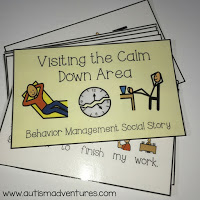
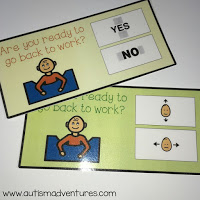
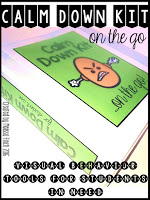
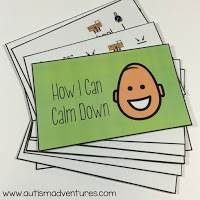
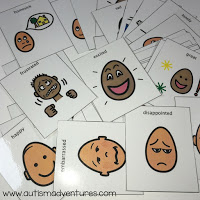
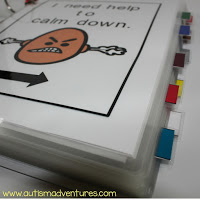
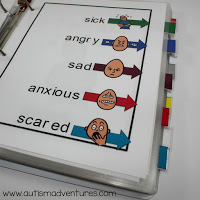
I am BEYOND excited to introduce my new Calm Down Kit- On the Go product. This year I have the worlds fastest student (okay, slight exaggeration). This student is everywhere and anywhere all the time. We were struggling with transitioning her to the Calm Down Area to help her de-escalte from her tantruming state. I created this visual Calm Down Kit Binder so that we could take the Calm Down Kit to her. I designed this book so that students can open the book, identify their emotion, follow the steps to calm down, choose a sensory break, review classroom rules, reflect on their behavior and transition back to the classroom with appropriate behaviors.
At this time, my student needs promoting to utilize the tabs and de-escalte. However, over time she has already began understanding the concept of the Calm Down Kit- On the Go and will be able to utilize this mobile Calm Down Kit on her own real soon!
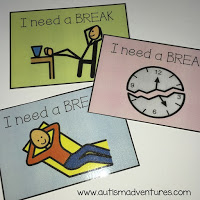
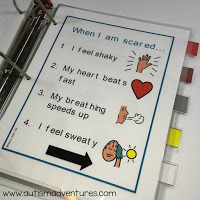
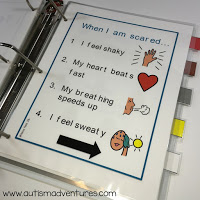
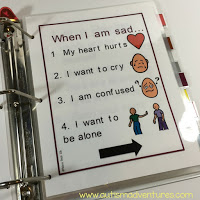
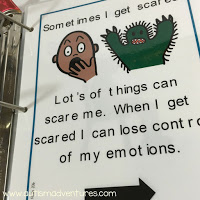
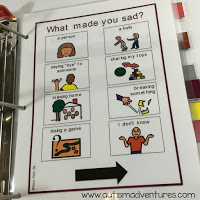
Here are just a few pages from this 63 page bundle!
SO, I’ve share what is included in each Calm Down Kit, and the reason for why I’ve created each one.
How do I utilize them?
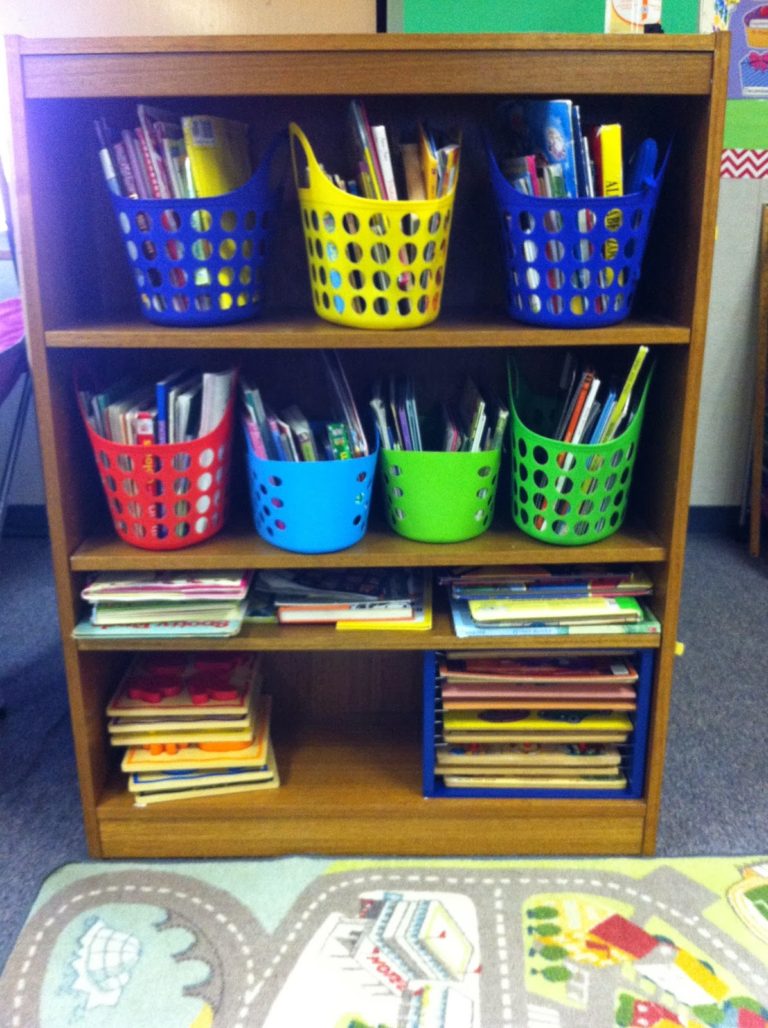
It’s quite simple. I have a designated spot in the classroom that is clearly labeled with the rules and calm down sign from my Calm Down Kit- 2nd Edition. In this area I store all of the visuals from all 3 calm down kits as well as some sensory supplies. This changes depending on my kids preferences. Currently I have a coloring book, play doh, moon sand, a weighted vest and bean bag in the area. Of course, add whatever you need to your calm down area that will help your students calm down. When a student starts acting out in any form, whether it be physically or verbally, I prompt them to the calm down area or utilize a tool from the calm down area with the child. Exactly what I do depends on why the child is tantruming. This is why I love my calm down kits, I have visuals to meet all of my students needs in my calm down area. The goal of the calm down area is to teach students to escort themselves to the calm down area and calm down independently. We want to teach students how to cope with emotions and regulate their feelings on their own prior to acting out. While this may seem impossible for some kids, I promise you it is not. Take baby steps. Work on students mastering one small step to calming down and prompt them through the rest. Depending on the student it could be to walk to the calm down area, or take 1 deep breath, or fold hands etc. There is no “one plan fits all” for students with emotional and behavioral challenges. It is up to the students education team to devise a plan in how to manage a challenging behavior. Most importantly, make sure all staff are on the same page and consistent with the child in order to build independence for the student so that they are able to eventually calm down on their own!
When do I use them?
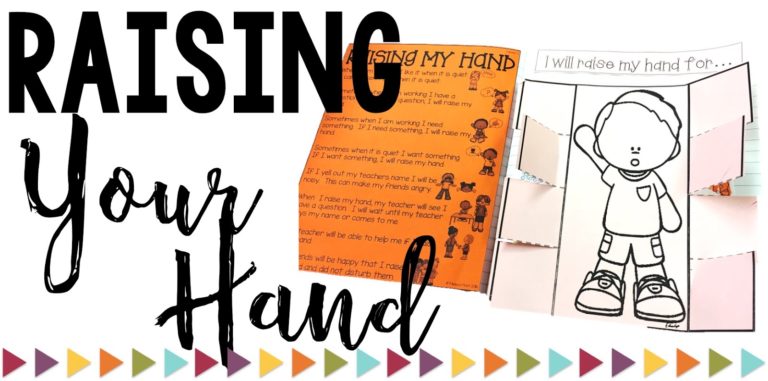
ALL THE TIME! No, really, I do. I use these visuals as a teaching tool too. I like to use the social stories and coping visual steps card each day to remind students of some of the basic steps we take throughout the day to remain calm. It is important to teach expectations to students rather than just assume they are able to perform these basic steps on their own. I also use them during a tantrum. Utilize the visuals that fit your students needs to help de-escalate in an appropriate manner for the school setting. I also use them as a follow up to a tantrum. Do you have a student that got so out of control he caused harm to someone? If so, it is extremely important to revisit some of the tools once the student is calm and discuss how they can do better next time they get hurt or upset. Like I said, I really do use them all the time. Consistency is key to a good behavior management plan!
Why do I use them?
It’s simple, because I want the best for my kids. My number one goal for all of my students is to help them to become as independent as possible. I like these tools because after awhile I am able to see my students utilize the visuals and tools needed to calm down with little to no assistance from staff. It’s amazing to see a kiddo go from flipping tables and being restrained for their own safety to asking for a break and finding the tools they need on their own to manage their behaviors!
Want to see some Calm Down Kit’s in action? Check out this old blog post below!
Time to go shopping! Click below to see more!