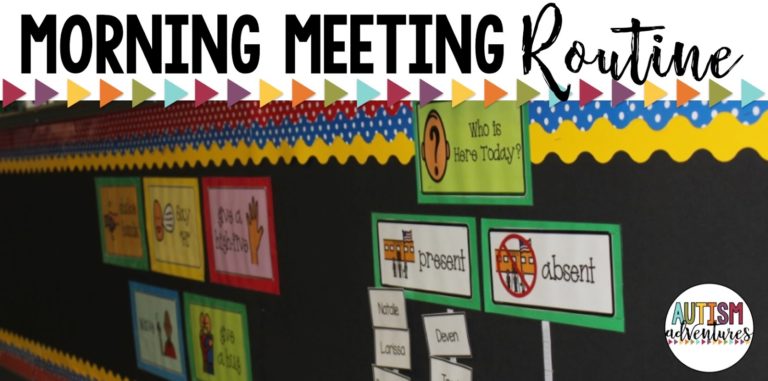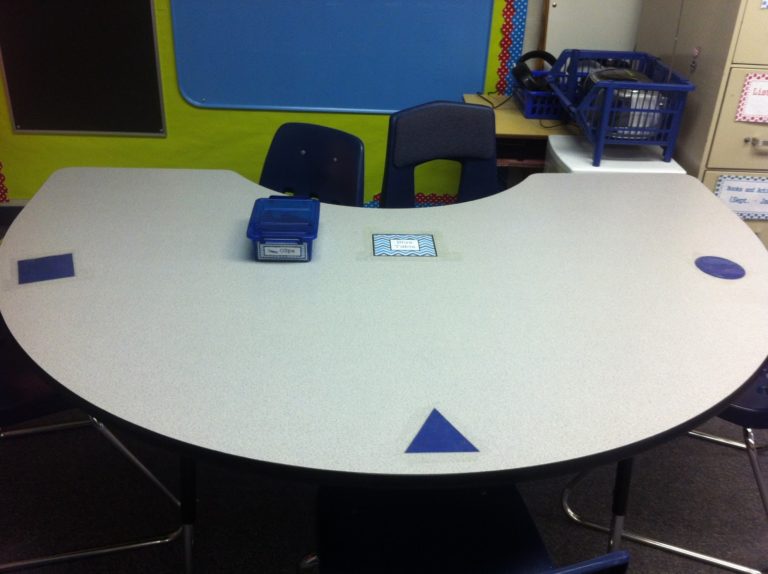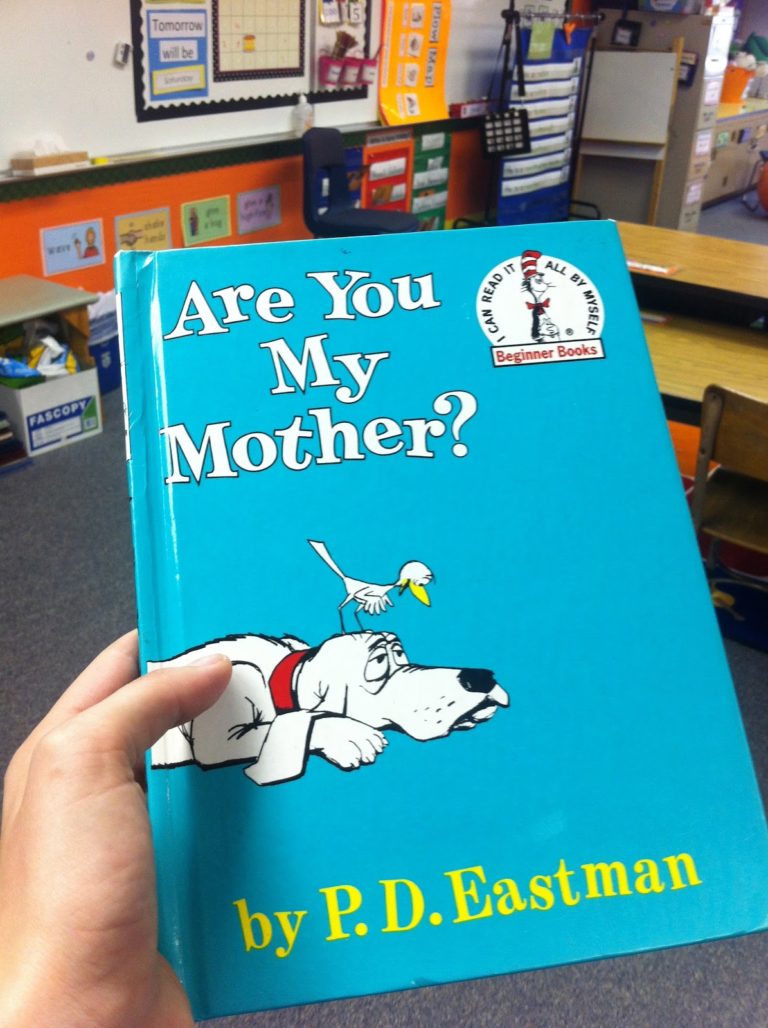
“How To Set Up A Special Education Program”- Sensory Tubs/Sensory Boxes
What do you do
with those extra fidgety students? A
great tool can be an individualized sensory box that can be stored in their
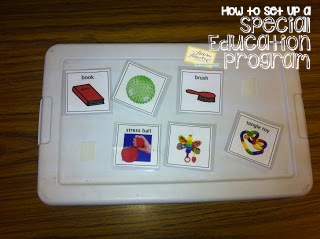
desk. Using a plastic box with al id,
store some of the students favorite sensory items in it. Create picture icons of each item inside the
box and attach it to the lid with velcro.
Allow students to request an item when needed.
with those extra fidgety students? A
great tool can be an individualized sensory box that can be stored in their
desk. Using a plastic box with al id,
store some of the students favorite sensory items in it. Create picture icons of each item inside the
box and attach it to the lid with velcro.
Allow students to request an item when needed.
Set rules for the
box depending on the students abilities.
How many items can they request at a time? How long can the child hold the item? Can the student carry the item around with
them? If it becomes a distraction simply
carry the box to the child and prompt them to put it back inside. The goal
of these boxes are to help students carry on through the daily schedule as
independent as possible. With these boxes try to ease children off of
them by putting less interesting items in the tub, less items in the tub, and
give it to them for shorter amounts of the time.


Sensory
integration is key for student success in the classroom. A great way to implement sensory activities
is to have sensory tubs set up. You can
pull out sensory tubs during free time, after work centers or as filler
activities throughout the school day. You can also put a sensory rotation into
your work groups if your students need it!


Create simple
sensory bottles using different house hold items. One option is to mix water
and baby oil and add food coloring.
Another bottle you can mix water
and glitter and pom poms or floating toys.
Be sure to super glue the lid on and apply duck tape. You don’t want any leaks in your
classroom! These bottles are great
calming toys for students to shake and watch!