How To Use A Sensory Diet In The Classroom
Ever get the urge to crack your knuckles or readjust your sitting position? After doing that, do you feel better? Ever wonder what those little ticks are all about? Well those things are sensory integration and sensory input. Today’s post is all about sensory diets in the classroom.

What is Sensory Integration and Sensory Input?
Sensory integration is where the brain helps us to take information we receive from our 5 senses, organize it, process it and respond appropriately.
Sensory input is doing something to stimulate our senses.
The two work together because when we sense something is out of whack, we do an activity to feed the sense that is off kilter We are able to respond appropriately by getting regulated and move on with our day.
Sensory integration and sensory input are popular phrases in the Autism community because kids on the spectrum are typically sensory seeking kiddos. Where I may just need a quick twitch, kids with autism go from one thing to the next until their bodies feel good in their space.
The thing is, students with sensory needs bodies may only feel good for a short period, so they seek out another sensory activity. They have difficulty with sensory integration because processing sensory input and responding appropriately is challenging. It can be a vicious cycle. Feel out of sorts, seek a sensory activity get regulated, don’t feel better, seek more sensory input.
As you can imagine this can interfere with life in the classroom. Having a constant need to feed the senses can inhibit learning. So how do you help students get the sensory input they are craving while so they can be productive?
Enter in the Sensory Diet!
What Is A Sensory Diet?
A sensory diet is a program that helps organize sensory input activities a child needs to fully function throughout the day. It is personally tailored based off of a kid’s preferences or tendencies and is implemented as kids need it. Following a sensory diet helps kids get back on track because their bodies feel better.
A sensory diet was one of my favorite tools in my tool box when I was in the classroom. I used it with a lot of my students and found great success with it. When set up correctly, it is super easy to implement! As I would go through my normal routine my staff and I knew when to tell a child to take a sensory break. We also knew what activity to do so they were able to focus on the next lesson.
I found that by implementing sensory diets, my students had reduced anxiety knowing they would be able to get the sensory input they need while at school. Many of my students also knew what they needed to do without instructions because the sensory diet helps them get better with sensory integration.
In this post I will teach you how to set up individualized sensory diets for your students and how to use them in the classroom.
How To Start A Sensory Diet
The first step to creating a sensory diet is knowing your child and his or her sensory needs. If you need a starting point to assess your student check out my other post, Sensory Needs In The Classroom: 5 Senses Checklist. This post also has a free printable poster for you to share with staff for a cohesive program!
Key things to look for when setting up a sensory diet:
- Identify sensory seeking behaviors
- Attention issues due to unmet sensory needs
- Emotional regulation from impaired sensory input (points of meltdowns for example)
You will want to spend at least a week and write down what you see. Keep a log of things, like time of day, behaviors exhibited, triggers, and setting.
Once you assess the student go back to your notes and see if you can get to the root cause of the exhibited behaviors.
Ask yourself questions like:
- Challenging times of day?
- What were environmental triggers?
- What was child doing that led to a meltdown?
- Is there a need not being met that causes a child to continually seek an activity?
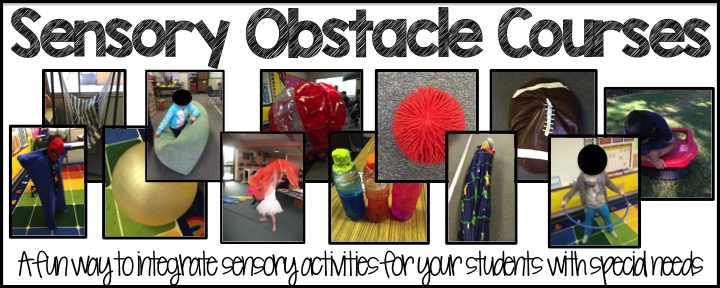
After assessing and understanding the why it’s time to try out different activities. This trial and error period will help you see what works and what doesn’t for your student. You will be able to narrow down activities and only include the ones that work for your student once you formalize the sensory diet.
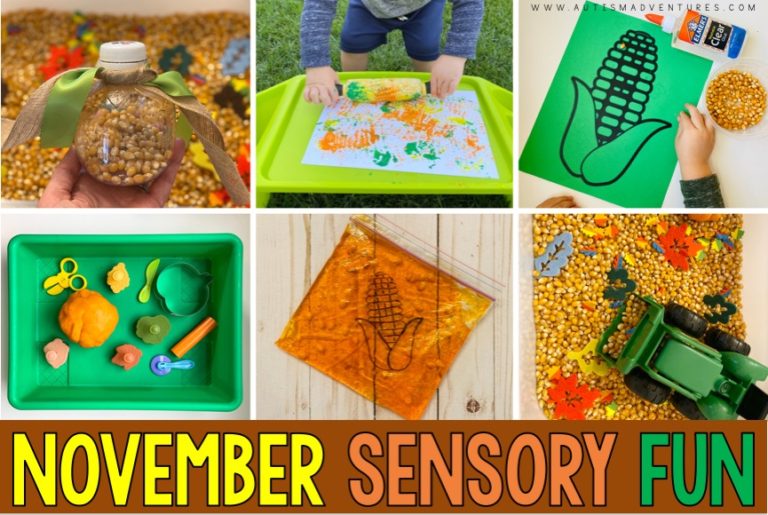
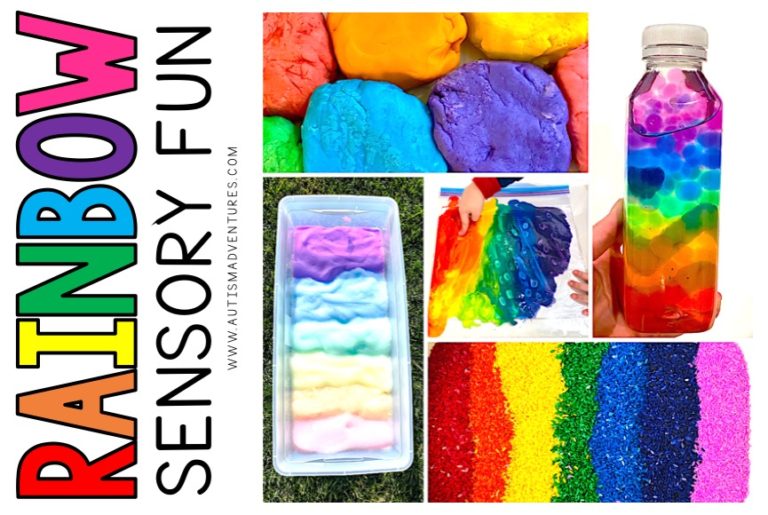
If you’re needing activity inspiration be sure to check out Sensory Play In The Classroom post.
While you’re testing out activities look for:
- What things help regulate
- Do certain times help or hinder
- What things have no impact
- What things have a negative effect
- Do certain activities have an opposite effect
The last step in the sensory diet process is to make a list of the activities that give you the desired results you are looking for: sensory activities that give kids the sensory input they need so that they are regulated, focused, emotionally balanced and able to learn.
The activities on your list essentially is the sensory diet! This is the foundation you will build upon.
How To Create A Sensory Diet
1. Organize the list of activities into categories that address the 5 senses (visual, auditory, tactile, smell, taste.)
- You may not have activities for all 5 senses. Children vary on their needs and preferences. For example, a child may only need tactile activities to feel regulated.
- Further organize activities into calming or energy boosting activities.
2. Make a list of the time your student needs sensory input the most.
- Do they need sensory activities after sitting for a long time?
- Is there a time of day they are tired?
- Is there a time when they are full of energy?
3. Make a list of environments that can be challenging or stimulates sensory seeking input.
4. Insert the appropriate activity to match the timing, environment, or the sensory input being sought.
- If a child gets upset during gym where it’s loud offer noise canceling headphones.
- Student comes in from recess full of energy offer a quiet time to sit in a tent
- Student can’t read a book without constantly chewing on shirt. Give child a chew toy to use during reading time.
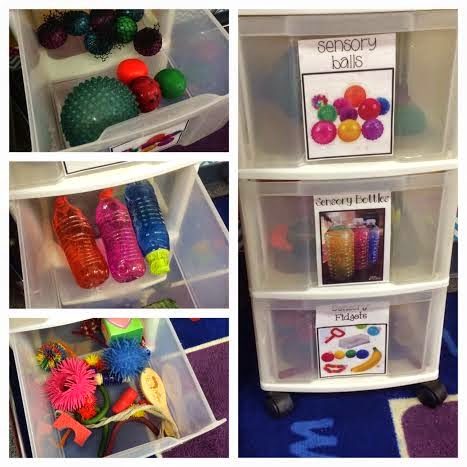
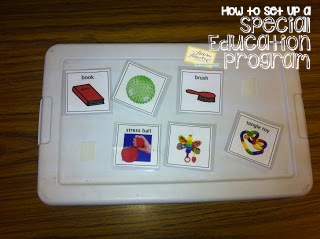
5. Create a visual for you and your student to follow:
- Write out daily schedule or daily activities in the first column
- List out challenges or sensory seeking behavior that occur during each activity in 2nd column
- List the sensory activities that help in third column.
6. Have flexibility with the sensory diet. Make changes as necessary if things don’t work. Offer variety so students don’t get bored. Be sure to re-visit the student’s sensory diet periodically to see if changes should be made.
In Conclusion
It may feel like a lot of work in the beginning to set up sensory diets in the classroom but once the sensory diet is created it will help things go much smoother as challenges arise.
You will have a deeper understanding of your students sensory needs and have a pool of activities at your fingertips to quickly support them as issues come up. A sensory diet also equips students to use the correct tools at the right time, which in turn helps them get better at sensory integration.
Like what you read? Don’t forget it, PIN IT!